
PCを自作したことがある人なら、あるいは深夜2時にオーバーヒートのトラブルシューティングをしたことがある人なら誰でも、サーマルグリスがひどく単純なものに見えることを知っている。CPUとクーラーの間に小さな塊を塗る。それだけだろう?

必ずしもそうとは限りません。.
驚くほど多くのCPUの温度に関する問題は、サーマルペーストの塗り方の間違いが原因です。多くの場合、プロセッサー自体は完全に正常で、クーラーも十分な性能があり、エアフローも問題ありません。本当の問題は、金属表面の間に隠された、紙のように薄い層にあります。.
そして、現代のCPUは旧世代よりも高温で動作し、より積極的にブースト(クロックアップ)するため、グリスの塗り方が不十分であることの影響は、5〜10年前よりも現在の方が大きくなっています。ちょっとしたミスが、サーマルスロットリング、不安定なパフォーマンス、ファンの騒音、さらにはハードウェアの寿命短縮につながる可能性があります。インテルをはじめとするハードウェアのマニュアルが一貫して正しい塗布方法を強調するのは、熱伝導インターフェースが熱伝達効率に直接影響を与えるためです。.
このガイドでは、CPUの熱伝導グリス(サーマルグリス)の塗布において人々が犯しがちな最も一般的な間違い、それが起こる理由、そしてそれを避ける方法について詳しく解説します。.
サーマルペーストの本当の役割
間違いについて話す前に、理解しておくと役立つのは 熱伝導グリス することになっている。.
CPUのヒートスプレッダとクーラーのベースは一見完全に平らに見えますが、顕微鏡で見ると微細な凹凸で満たされています。2つの金属面が直接触れ合うと、微小な空気の隙間が残ります。空気は熱伝導率が非常に悪いです。.
サーマルペーストはそれらの隙間を埋め、CPUからクーラーへと熱が効率的に伝わるようにします。.
初心者のほとんどが見落としがちなポイントは、これです:
サーマルペーストは熱の主たる伝導体ではありません。金属同士の接触がそうです。.
ペーストは、閉じ込められた空気を排除することによって、単に接触を改善するだけです。.
だからこそ、ペーストが多すぎても少なすぎても問題を引き起こすのです。.
間違い #1:サーマルペーストを使いすぎる

これはおそらく、最もよくある間違いです パソコン 建物.
人々は、サーマルペーストの量が多いほど冷却性能が上がると考えがちです。しかし実際には、多すぎるサーマルペーストは厚い熱的障壁を作り出し、冷却効率を向上させるどころか低下させてしまいます。インテルは特に、ペーストが多すぎると効果が低下し、さらには周囲の部品にまで溢れ出る可能性があると警告しています。.
使いすぎるとどうなるか
一般的な症状には以下が含まれます:
- 通常よりも高いCPU温度
- CPUの端からはみ出たグリス
- 圧力分布の不均一
- マザーボードの汚染状態
- 導電性ペーストを使用した場合、ショート(短絡)の可能性があります
グリスを塗りすぎると、3〜8℃温度が上昇したと報告するユーザーもいます。.
熱伝導グリスは直接の銅の接触よりも熱伝導性が低いため、厚いグリスの層は人々が予想する以上に熱を閉じ込めてしまいます。.
正しい金額
ほとんどのデスクトップCPUにおいて:
- エンドウ豆ほどの大きさが効果的です
- 大型CPUの場合、アプリケーションのサイズをわずかに大きくすることでメリットが得られる場合があります。
- 多コアプロセッサでは、ライン状またはX字状のパターンの方がうまく機能することがあります。
目的は厚みではなく、カバー力です。.
クーラーを取り付けると、圧力が自然にコンパウンドを広げます。.
間違い #2:ペーストの使用量が少なすぎる
逆の問題も同じくらい深刻だ。.
サーマルグリスが少なすぎると、CPUとヒートシンクの間に微細な空気のポケット(隙間)ができてしまいます。その隙間は、熱伝導を劇的に減少させます 熱伝導率.
グリスの塗布量が少なすぎる兆候
お気づきかもしれませんが、
- 1つのCPUコアが他のコアよりも高温になっている
- 急激な気温の上昇
- ゲームプレイ中のサーマルスロットリング
- クーラー取り外し後に確認できる乾燥したスポット
コミュニティのトラブルシューティングスレッドでは、カバー不足に起因するコア温度の不均一が度々言及されている。.
現代のCPUは負荷がかかると強力にブースト動作を行うため、わずかな露出部分であっても局所的なホットスポットになり得る。.
間違い #3:ペーストを手作業で塗り広げる
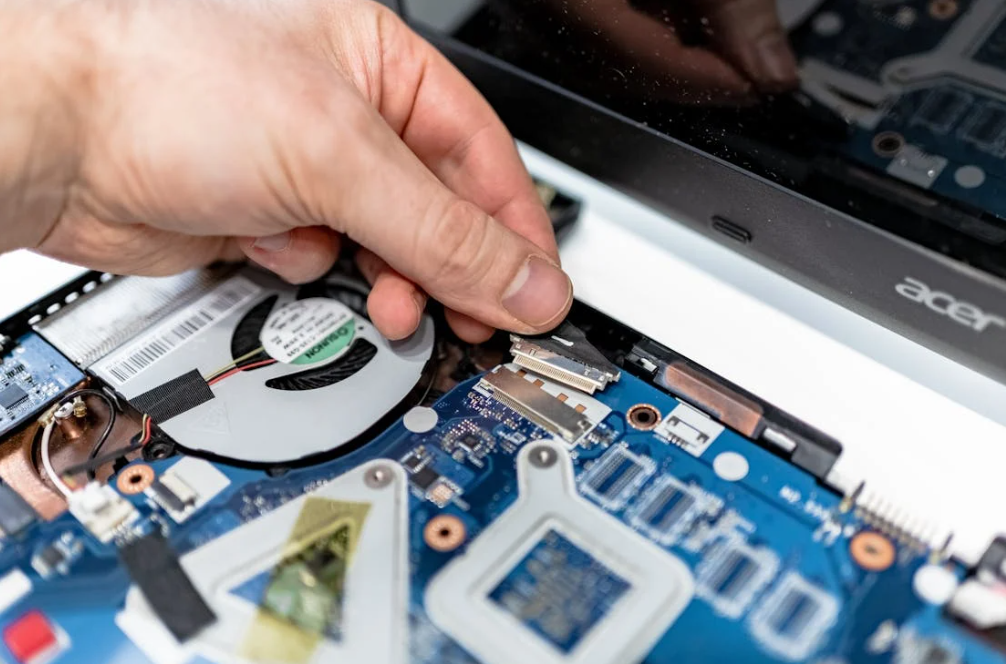
これは毎年ネットで議論を引き起こす。.
一部のビルダーは、クレジットカード、ヘラ、または指を使って、CPU全体にグリスを手動で塗り広げます。これでも機能しますが、化合物に気泡が混入する可能性も高くなります。.
インテルはまさにこの理由から、手動で広げることを特に推奨していません。.
気泡が重要な理由
気泡が微小な断熱層を作り出し、熱伝導を遮断する。.
結果は?
- 温度のばらつき
- ランダムな熱スパイク
- CPU表面全体の発熱スポット
- 冷却性能の低下
多くの熟練した自作PCビルダーは、クーラーの圧力がサーマルパリスをより均一に広げるため、現在ではセンタードット方式(中央に1点置く方法)好んで使用しています。.
間違い #4:古いサーマルペーストの再利用
多くの人がこれをうっかりやってしまいます。.
彼らはクーラーを取り外し、何かを点検してから、清掃や新しいグリスの塗り直しをせずに、単に元通りに戻すだけです。.
悪手だ。.
サーマルペーストは、一度圧着されて空気に触れると、その硬さが変化します。再利用すると、接触が不均一になり、空気が閉じ込められる原因となります。インテルは、クーラーを取り外すたびに新しいコンパウンドを塗布することを推奨しています。.
古いペーストが劣化する理由
時間の経過とともに、サーマルグリスは以下のようになります:
- 乾かす
- ひび割れ
- 分離する
- 熱伝導率を失う
古いペーストはしばしば白亜質の質感を帯び、熱伝達効率を低下させる。.
理由の如何を問わずクーラーを取り外した場合は、すべてを清掃してやり直してください。.
間違い #5:古いペーストをきちんと拭き取っていない
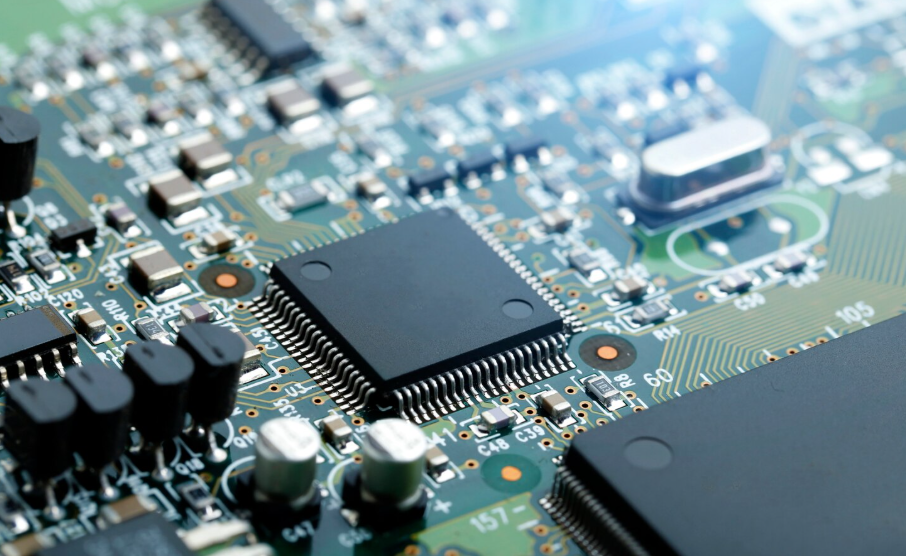
グリスの塗り直しを台無しにする最も手っ取り早い方法の一つは、古い残留物の上に新しいコンパウンドを重ね塗りすることです。.
残念ながら、これは人々が認めている以上に頻繁に起こることです。.
Redditのユーザーは、ノートパソコンやデスクトップパソコンの過熱トラブルシューティングを行う中で、古いサーマルペーストの拭き残しが熱接触不良を引き起こしていることを頻繁に発見します。.
適切な掃除とはどのようなものか
使用する必要があります:
- 90%+イソプロパノール
- 糸くずの出ない布、またはコーヒーフィルター
- やさしく拭き取る動作
CPUのヒートスプレッダーとクーラープレートは、再塗布の前に完全にきれいな状態になっている必要があります。.
わずかな残留層であっても、取付圧力や熱伝達に影響を与える可能性があります。.
間違い #6:保護用プラスチックフィルムを取り外し忘れる
自分が経験するまでは、ばかげた話に聞こえる。.
多くのCPUクーラーには、接触プレートを覆う透明な保護プラスチックフィルムが貼られています。自作PCの初心者は、取り付け前にこれを剥がし忘れることが時々あります。.
その結果、急速なオーバーヒートを引き起こします。.
オンラインの自作PCコミュニティでは、このミスはある種の通過儀礼のようなものだ。.
一般的な症状
- CPUの温度が瞬時に90〜100°Cに達する
- ファンが最高速度に加速する
- PCが高負荷時にシャットダウンする
- CPUの温度が高いのに、クーラーが妙に冷たく感じる
新品の組み上げ直後に温度が壊滅的に高い場合は、まずステッカーを確認してください。.
マジで。.
間違い #7:不適切な種類の熱伝導グリースの使用
すべての熱伝導グリスが同じというわけではありません。.
電気伝導性を持つものもあります。シリコーンベースのものもあります。液体金属を使用する別のものもあります。.
お使いの環境に合わないものを選ぶと、大きな問題を引き起こす可能性があります。.
導電性サーマルペーストのリスク
導電性の化合物がCPUの端からあふれ出すと、近くのマザーボードの部品をショートさせる可能性があります。.
初心者が過剰なペーストを使用すると、そのリスクは大幅に高まります。.
Liquid Metal Risks
Liquid metal offers outstanding thermal performance, but it’s risky:
- 導電性
- アルミニウムを腐食する
- Difficult for beginners
- こぼすとハードウェアに永久的な損傷を与える可能性があります
Intel and experienced builders usually recommend standard thermal paste for most users.
Mistake #8: Poor Cooler Mounting Pressure
Sometimes the thermal paste isn’t actually the problem.
The cooler mounting pressure is.
Even perfectly applied paste won’t work properly if the heatsink isn’t seated evenly.
Common Mounting Errors
- Uneven screw tightening
- Loose mounting brackets
- Over-tightening one corner
- Improper contact pressure
Poor mounting creates uneven paste spread and incomplete contact zones.
Recent overheating troubleshooting guides identify improper cooler seating as one of the leading causes of high CPU temperatures after repasting.
Best Practice
Tighten screws gradually in a cross pattern:
- Top left
- Bottom right
- Top right
- Bottom left
This ensures even pressure distribution.
Mistake #9: Applying New Paste Without Checking Cooler Compatibility
Not every cooler works equally well with every CPU.
This matters more now because modern CPUs have different heat-spreader shapes and hotspot locations.
例えば:
- Intel chips often have rectangular dies
- AMD Ryzen chips may benefit from slightly different paste coverage patterns
Some builders still use outdated application methods from older CPU generations. Reddit discussions regularly point out that application patterns can vary depending on CPU layout.
A generic “one method fits all” approach isn’t always ideal anymore.
Mistake #10: Ignoring Thermal Paste Aging

Thermal paste is not permanent.
Many users install a PC and never think about the thermal interface again for six or seven years.
Sometimes that works. Sometimes it absolutely doesn’t.
Signs Your Thermal Paste Needs Replacement
注意:
- Rising idle temperatures
- Louder fan noise
- Sudden thermal throttling
- Higher temps compared to earlier benchmarks
- Random shutdowns under load
Most mainstream thermal compounds last between 3–5 years under normal use.
Heavy workloads, hot environments, and frequent thermal cycling can shorten lifespan.
Mistake #11: Choosing Cheap, Low-Quality Thermal Paste
Budget サーマルコンパウンド can be tempting, especially for entry-level builds.
But low-quality paste often dries faster, separates sooner, or performs inconsistently under sustained load.
Recent investigations into certain low-cost thermal compounds even found chemically reactive materials capable of corroding copper surfaces over time.
That doesn’t mean expensive paste automatically guarantees amazing temperatures. However, reputable thermal interface materials generally offer:
- Better long-term stability
- Improved consistency
- Safer chemical composition
- Reliable thermal conductivity
This is especially important for gaming systems, workstations, industrial PCs, and high-performance CPUs.
For users running demanding applications or compact systems, high-quality ティム solutions from brands like ハクタック can help maintain stable thermal transfer and long-term reliability.
Mistake #12: Removing the Cooler Incorrectly
This one surprises first-time builders.
Thermal paste can act almost like glue after years of heat cycles.
If you pull the cooler straight upward too aggressively, you can accidentally yank the CPU out of the socket. Micro Center specifically warns about this during cooler removal.
What Can Go Wrong
- Bent CPU pins
- Damaged motherboard socket
- Cracked mounting brackets
- Torn retention mechanisms
Safer Removal Method
Instead of pulling upward immediately:
- Warm the system slightly first
- Twist the cooler gently
- Break the seal slowly
- Then lift carefully
Patience matters here.
How to Apply Thermal Paste Correctly
After all these mistakes, the correct process is actually pretty simple.
Step-by-Step Best Practice
- Clean the Surfaces
Use isopropyl alcohol and remove all old residue.
- Apply a Small Amount
A pea-sized dot works for most CPUs.
- Mount the Cooler Evenly
Use gradual cross-pattern tightening.
- Don’t Lift the Cooler Again
Once mounted, avoid disturbing the seal.
- Monitor Temperatures
Check idle and load temps after installation.
If temperatures look abnormal, reseat the cooler instead of adding more paste.
Why Thermal Paste Matters More Today
Modern CPUs are far more thermally aggressive than older generations.
High-end processors can boost near thermal limits almost instantly. When cooling efficiency drops—even slightly—performance can fall with it.
Thermal throttling studies consistently show that elevated CPU temperatures reduce sustained performance and increase latency under continuous workloads.
That’s why proper thermal interface management is no longer just enthusiast obsessiveness.
It directly affects:
- Gaming performance
- Rendering workloads
- AI inference
- Workstation stability
- CPU lifespan
- Noise levels
A five-minute mistake during installation can quietly reduce performance for years.
結論
CPU thermal paste application is one of those small tasks that has outsized consequences.
Too much paste, too little paste, poor mounting pressure, dirty surfaces, reused compound—none of these mistakes seem dramatic in the moment. But together, they account for a huge percentage of overheating complaints in the PC world.
The good news is that thermal paste mistakes are usually easy to fix once you know what to look for.
Use the correct amount. Clean surfaces carefully. Mount the cooler evenly. Avoid cheap compounds. And remember that thermal paste is there to improve contact—not replace it.
Get those basics right, and your CPU cooling system will perform far better than many people expect.
よくある質問
CPUのグリスはどのくらいの頻度で塗り替えるべきですか?
Most thermal paste lasts around 3–5 years under normal use.
Can too much thermal paste damage a CPU?
Yes. Excess paste can reduce cooling efficiency and may short components if conductive.
Is liquid metal better than standard thermal paste?
It performs better thermally, but it’s riskier and not recommended for beginners.
What is the best thermal paste pattern?
A pea-sized dot works well for most CPUs.
Can old thermal paste cause overheating?
Absolutely. Old paste can dry out, crack, and lose conductivity over time.