
Heat blocking for compact assemblies
Heat-Insulating Pads for Electronics, Batteries and Thermal Barriers
A heat-insulating pad slows unwanted heat flow between a hot zone and a protected component. Selection begins with the hot-side profile, protected-side temperature limit, available thickness and every conductive path around the barrier—not with a material name alone.

Heat source and exposure profile
A battery cell, heater, converter, power device, busbar, metal wall or neighboring assembly creates continuous heat, short peaks or an abnormal thermal event.
Temperature-sensitive component or surface
A sensor, display, adhesive, cable, plastic housing, control board, adjacent cell or user-touch surface must remain within a defined temperature limit.
What Is a Heat-Insulating Pad?
A heat-insulating pad is a flexible, compressible or semi-rigid layer selected to reduce heat transfer between two parts of an assembly. It may be supplied as a sheet, roll, spacer, liner, gasket or custom die-cut shape. Unlike a thermally conductive pad—which improves contact so heat can reach a heat sink—a thermal insulation pad deliberately increases resistance along a defined path.
The material is only one part of the barrier. Final isolation also depends on delivered thickness, compressed thickness, contact area, edge clearance, fasteners, air paths, enclosure spreading and the duration of the heat exposure. A low conductivity value measured on a coupon cannot guarantee the protected-side temperature in a real product.
The term also needs qualification. An electrically insulating thermal pad can block current while still conducting heat efficiently. A heat-resistant pad may survive a high temperature without necessarily slowing heat enough. For broad terminology, review what a thermal pad does in an assembled interface.
Heat-Insulating Pad or Thermally Conductive Pad?
The words thermal, insulating and pad are frequently mixed together. Identify the heat-flow objective before requesting conductivity, hardness or thickness.
Heat-insulating pad
Raises thermal resistance between a hot zone and a protected zone. Typical inputs are allowable temperature rise, exposure time, thickness, compression, flame behavior and electrical requirements.
- Battery or module separation
- Sensor and display protection
- Hot housing isolation
Thermally conductive gap pad
Replaces insulating air and lowers interface resistance so heat can reach a heat sink, chassis or cold plate. The design focuses on bond line, pressure, contact and thermal impedance.
See the wider thermal interface material selection framework.
Electrically insulating thermal pad
Can conduct heat while preventing direct electrical contact. It is common between a live semiconductor tab and a grounded heat sink. Dielectric strength does not mean the material is a thermal barrier.
For familiar elastomer formats, compare silicone thermal gap pads.
Heat-resistant pad
Maintains required properties at a stated continuous or peak temperature. It may be conductive or insulating. Review the property retained after exposure, not only the listed temperature range.
Where silicone contamination is restricted, examine silicone-free thermal pad constructions.
Complete heat path
Map Every Heat-Leak Path Before Selecting the Pad
A barrier can perform exactly as its material data predicts and still miss the device target because heat bypasses it through metal, air or another structural layer.
Through-Thickness Conduction
Heat passes through the pad body. Conductivity, final thickness and effective contact area establish the first estimate, but contact layers, adhesive and temperature-dependent behavior can change the result.
Edge and Frame Bypass
A narrow pad surrounded by a broad aluminum frame may block very little of the total heat. Model the metal wall, chassis, tabs and edge clearances that bridge the hot and protected regions.
Fasteners and Busbars
Screws, compression plates, busbars and grounding straps can carry heat around an insulation pad. A thermal break in the sheet does not interrupt a separate metal path.
Air, Radiation and Open Cavities
An air gap can reduce direct conduction, yet convection and radiation may become important across a cavity. Orientation, surface emissivity, venting and temperature difference affect the system result.
PCB, Cable and Enclosure Spreading
Copper planes, harnesses, shields and covers can spread energy to the protected side. Use the complete assembly boundary rather than treating the pad as an isolated one-dimensional coupon. A thin graphite heat-spreading sheet may redirect a hot spot, but it is not a substitute for a through-thickness barrier.
Heat-Insulating Pad Material Families
Choose a construction from the required temperature, compliance, thickness, compressibility, cleanliness and production format. Confirm Haktak supply and the exact data sheet before locking a design.
Closed-Cell Silicone Foam or Sponge
Lightweight cellular silicone can provide cushioning, sealing and thermal separation with broad temperature capability. Cell structure, density, skin, compression and thickness affect both heat leakage and recovery.
Check: compression set, flame rating by exact thickness, permeability, adhesive compatibility and whether silicone chemistry is acceptable.Non-Silicone Polymer Foam
Polyurethane and other polymer foams may support lower-cost cushioning or projects with silicone restrictions. Temperature range, humidity response, hydrolysis, flammability and long-term compression need careful review.
Check: chemistry declaration, density, continuous temperature, moisture aging, odor/outgassing and retained thickness.Aerogel Composite Pad or Blanket
Porous aerogel composites can provide strong thermal resistance in limited thickness and are considered for battery and high-temperature barriers. The complete reinforced construction controls handling, dust, edge integrity and compression.
Check: direction of data, reinforcement, particle release, flame and smoke evidence, mechanical durability and pack-level validation.Mica, Ceramic Paper or Fiber Sheet
Inorganic or mineral-rich sheets can support high-temperature insulation and electrical separation. They may be less conformable than foam and can require controlled clamping, surface protection or a laminate.
Check: brittleness, dusting, puncture, dielectric behavior, water absorption, edge design and converting tolerance.Thin Dielectric Film Laminate
Polyimide, polyester and related films can provide precise electrical isolation and clean die-cut geometry. A thin film normally offers limited thermal separation by itself, so it should not be selected only because it is an electrical insulator.
Check: film thickness, adhesive layer, pinholes, cut edges, creepage, temperature, dimensional stability and laminate stack.Rigid or Multilayer Thermal Barrier
A semi-rigid sheet or multilayer stack can combine insulation, structure, electrical spacing, flame performance and controlled installation. Every carrier, foil, coating and adhesive changes the final result.
Check: total thickness, interlayer adhesion, bend radius, fastener design, thermal bridges, aging and exact certified construction.Engineering data
Heat-Insulating Pad Specifications That Matter
Useful data connects a number to a method, condition and finished construction. Screen materials with coupon properties, then verify protected-side temperature in the real hardware.

Thermal Conductivity
Record direction, mean temperature, method, density, conditioning and specimen thickness. A low coupon value supports screening but does not include heat bypass around the pad.
Delivered and Compressed Thickness
Define nominal thickness, tolerance and measurement pressure, then calculate final thickness at minimum, nominal and maximum assembly conditions.
Compression Stress and Set
Check force through the intended compression window and retained thickness after time and temperature. Hardness alone cannot predict load on a cell, PCB or housing.
Continuous, Peak and Storage Range
Separate short survival from recommended service. Review which properties remain acceptable after dwell, cycling and recovery.
Dielectric Properties
When isolation is required, review dielectric strength, breakdown voltage, volume resistivity, puncture, edges and the final compressed construction.
Flame, Smoke and Compliance
Confirm the exact tested thickness and laminate. Do not extend a base-material rating to a pad with a different adhesive, carrier or color without evidence.
Humidity, Fluids and Outgassing
Define water, coolant, oil, cleaner, salt mist, vacuum or optical exposure. Swelling, residue and volatile loss may matter as much as thermal data.
Format, Liner and Shelf Life
Specify sheet, roll, individual die-cut, kiss-cut array, liner, tab, adhesive, packaging, storage and traceability for the production process.
Compare Thermal Barrier Constructions by Function
No material wins every column. Use this matrix to create a shortlist, then replace relative descriptions with the candidate data and tested assembly result.
| Construction | Thermal-barrier role | Conformability | Temperature consideration | Production behavior | Main validation risk |
|---|---|---|---|---|---|
| Closed-cell silicone foam | Cushioning plus controlled thermal separation | Good across broad areas and moderate surface variation | Often broad, but grade-specific | Die-cuttable; skin and liner support handling | Compression set, silicone restriction and flame construction |
| Non-silicone polymer foam | Lightweight barrier for moderate environments | Good when density and cell structure fit the load | May be narrower than silicone or inorganic sheets | Can support adhesive-backed gaskets and arrays | Humidity, hydrolysis, aging and retained thickness |
| Aerogel composite | High insulation value where thickness is limited | Depends on reinforcement and laminate | Application- and binder-specific | Edge control, encapsulation or liner may be needed | Dust, durability, flame/smoke and event-level proof |
| Mica or ceramic/fiber sheet | High-temperature and dielectric barrier | Lower than soft foam; surface fit must be designed | Potentially high with correct grade and binder | Precision cutting possible; protect fragile edges | Cracking, puncture, moisture and handling damage |
| Thin film laminate | Electrical separation and clean surface protection | Follows smooth surfaces but does not fill large gaps | Film and adhesive both control the range | Excellent dimensional control and automation potential | Insufficient thermal isolation, pinholes and adhesive aging |
| Rigid multilayer sheet | Structural separation plus multifunction barrier | Limited; requires flatness or a compliant layer | Controlled by the complete stack | Stable placement, but drawing and fasteners matter | Thermal bridges, delamination and stack tolerance |
Select Heat-Insulating Pad Thickness From the Real Thermal and Pressure Window
A thicker layer usually increases through-thickness thermal resistance, but the finished result is not controlled by thickness alone. Compression, broad contact, metal bypasses and a changing hot-side profile can erase part of the expected improvement.
Measure the mechanical space on production-representative assemblies. Record the minimum, nominal and maximum gap, including component height, housing flatness, fasteners, coatings and manufacturing variation. Then determine whether the candidate must remain in contact, act as a spacer or avoid load entirely.
For soft materials, the design thickness is the final compressed thickness rather than the relaxed incoming value. Use material-specific pressure–strain data and check stress relaxation after temperature exposure. The thermal pad thickness tolerance guide provides a useful stack-up framework, while compression behavior in thermal pads explains why pressure changes both contact and thickness.
Measure the assembled separation
Record every functional pad location rather than one convenient CAD point.
Define the protected-side target
Specify the allowed temperature and exposure time, not only the hot-side temperature.
Calculate the pressure window
Confirm contact or spacing without overloading cells, boards, optics, plastics or clips.
Test the minimum and maximum stacks
Measure both temperature zones after soak, cycling and mechanical aging.
Application map
Heat-Insulating Pads for Electronics and Battery Assemblies
These six scenarios show where a thermal barrier can support a design. The final material still depends on temperature, geometry, pressure, electrical boundaries, reliability and the exact failure being prevented.
 01 / BATTERY
Cells, Modules and Enclosures
Separate cells or modules from adjacent electronics, busbars and housings where local heat spread, electrical spacing and mechanical protection must be controlled.
Review BMS thermal design 02 / POWER
Converters, Chargers and Controls
Protect low-temperature connectors, capacitors, control boards or plastic features near MOSFETs, IGBTs, transformers and resistors without blocking the intended cooling path.
Plan power electronics thermal paths 03 / AUTOMOTIVE
ECU, ADAS and Vehicle Electronics
Control local heat near sensors, sealed modules and cabin-facing surfaces while accounting for vibration, humidity, fluids, cycling and automotive production handling.
Explore automotive electronics materials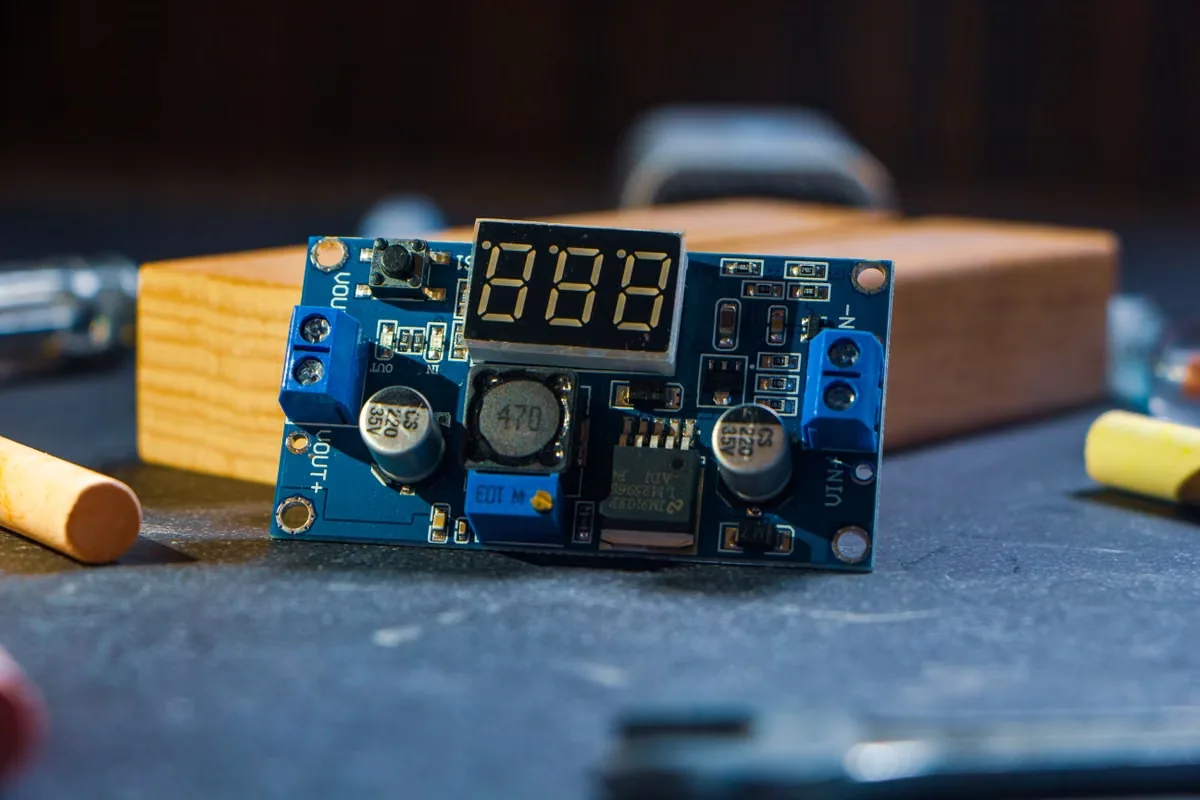 04 / OPTICAL
LED, Display and Optical Hardware
Reduce exposure of reflectors, lenses, displays, adhesives and nearby plastics while validating cleanliness, outgassing and temperature-related optical change.
See LED material solutions 05 / COMPACT
Displays, Batteries and Touch Surfaces
Thin housings can require temperature control around a battery, display, antenna, flex circuit or user-touch cover with very limited insulation thickness.
Review consumer electronics materials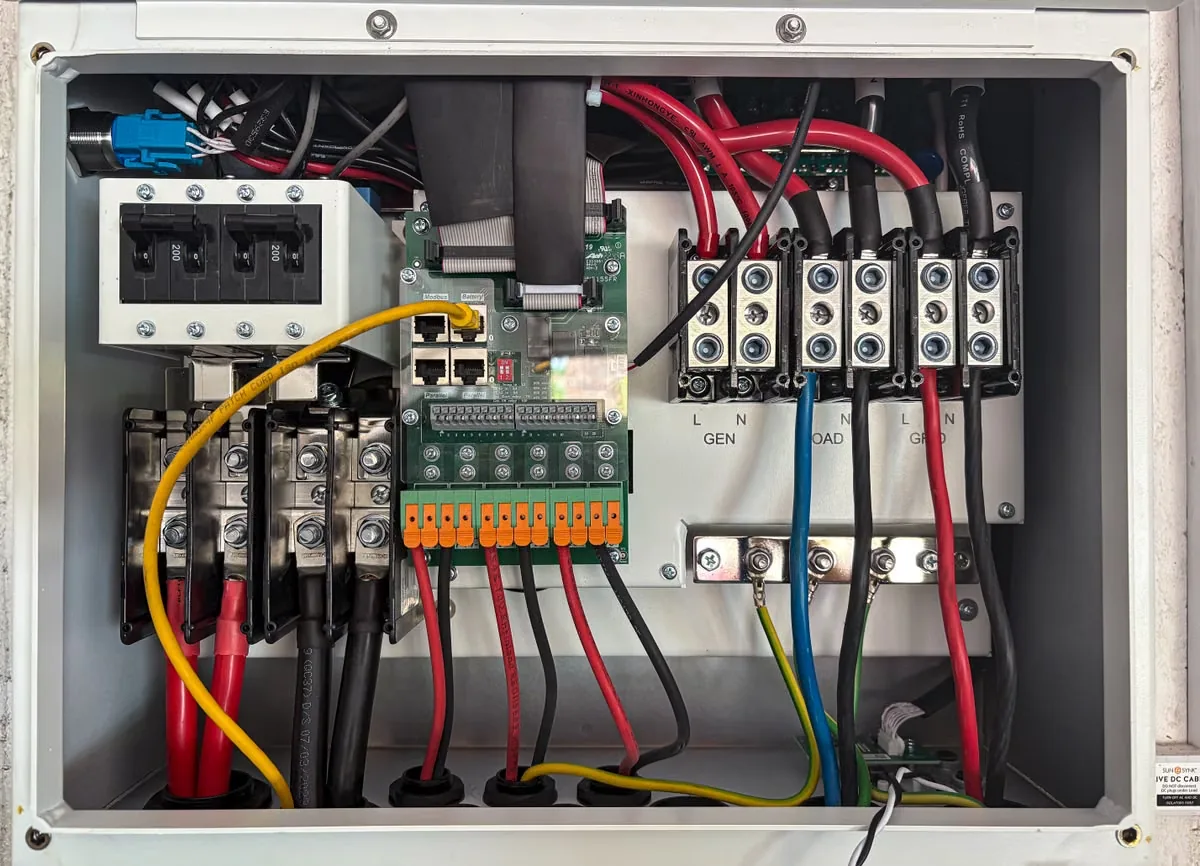 06 / INDUSTRIAL
Heaters, Sensors and Control Cabinets
Separate a heater, power terminal or warm enclosure wall from sensitive instrumentation while checking service temperature, wiring paths, humidity and maintenance access.
View industrial electronics materialsBattery boundary
Battery Heat-Insulating Pads Need an Event-Specific Requirement
Normal battery operation, a local component hot spot and an abnormal cell event are not the same qualification problem. State which event the material must address before choosing a low-conductivity sheet.
A barrier between cells may need to manage transient heat, flame, gas, pressure, swelling and electrical spacing. A liner between a module and electronics may instead address continuous conducted heat and long-term compression. Results from a small steady-state coupon should not be used as proof that a pack will resist propagation.
Battery safety is a system property. Cell chemistry, state of charge, spacing, vent path, enclosure, cooling, busbars and barrier installation influence the outcome. Use the pad as one layer in a documented system test, not as a standalone claim.
Continuous heat isolation
Protect a BMS, sensor, adhesive, cable or user-facing wall from expected pack temperature. Validate at maximum continuous duty and aged compression.
Short-duration exposure
Define peak temperature, ramp rate, area, duration and acceptable protected-side response. Thermal diffusivity and stored energy may matter in addition to conductivity.
Abnormal thermal propagation
Specify cell format, state of charge, trigger method, spacing, vent direction and pack-level acceptance. Review fire, gas and mechanical behavior together.
Swelling and compression
Account for cell expansion, module restraint, vibration, compression set and dimensional change so the barrier remains in the intended location.
Busbar and enclosure isolation
Confirm voltage, cut-edge quality, creepage, clearance, puncture and conductive debris after assembly and aging.
Placement and inspection
Define liner removal, adhesive, tabs, holes, edge clearance, part orientation, contamination control and vision-inspection features.
How to Validate a Heat-Insulating Pad
Measure the completed thermal boundary with production hardware. A useful test records both the hot side and protected side, includes likely bypass paths and repeats after environmental aging.

Baseline the Assembly
Measure the same hardware without the candidate or with the current construction so the actual improvement and new failure modes are visible.
Control Heat Input
Record power, hot-side temperature, ramp rate, dwell time, contact area and ambient boundary. Do not compare runs with different heat conditions.
Locate Both Sensors
Fix hot-side and protected-side sensor positions. A few millimeters of movement near a hot spot can change the reported temperature.
Verify Pad Geometry
Measure delivered thickness, coverage, holes, edges, adhesive and final compressed condition before interpreting the thermal result.
Test Stack-Up Extremes
Build minimum, nominal and maximum conditions for gap, pressure, flatness, material tolerance and fastener variation.
Run Thermal Soak
Hold the intended steady state long enough to separate a transient delay from sustained thermal isolation.
Reproduce Transients
For short events, match the realistic ramp, pulse duration, recovery and repeat count instead of extrapolating from steady-state data.
Age the Construction
Repeat after thermal cycling, hot dwell, humidity, fluids, vibration and compressed storage as relevant to the application.
Check Safety Functions
Verify dielectric, flame, smoke, puncture, particle and chemical requirements on the final laminated and die-cut construction.
Prove the Pilot Process
Confirm liner release, placement, orientation, adhesion, inspection and packaging on production-representative equipment.
Failure review
Common Heat-Insulating Pad Failure Modes
When protected-side temperature misses the target, inspect the complete heat path before replacing the material with a lower published conductivity.
Insufficient final thickness
The delivered part or compressed stack is thinner than the design assumption, reducing through-thickness resistance.
Compression creates a stronger bridge
Excess pressure increases contact, collapses cellular structure or transfers load into a conductive frame.
Metal bypass dominates
Heat travels around the pad through fasteners, brackets, busbars, housing walls or a broad uncovered edge.
Data use the wrong orientation
An anisotropic laminate or composite is installed or specified using conductivity measured in another direction.
Temperature survival is mistaken for insulation
The pad survives the hot side but does not provide enough thermal resistance to protect the neighboring part.
Bonding layer changes the stack
Adhesive softens, creeps, delaminates, adds a new path or changes placement after thermal and humidity exposure.
Edges crack, dust or puncture
Conversion, handling, sharp features or high compression damage the barrier and may reduce dielectric integrity.
Coupon data are overextended
A small test under one condition is used to claim battery-event, flame or device protection that was never tested.
Custom Die-Cut Heat Insulation Pads for Production
A production-ready barrier is a complete part: base material, thickness, adhesive, liner, orientation, tolerances, packaging and inspection features must work together.
Start with the protected boundary and drawing. Narrow webs, holes, slots and edge clearances must remain robust after cutting and liner release. Fragile inorganic or aerogel composites may need reinforcement, encapsulation or a different conversion method than resilient foam.
Adhesive should be treated as a functional layer. It may support temporary placement, but it can also alter temperature capability, volatile behavior, dielectric performance and thermal resistance. State the surface, preparation, placement time and whether the barrier remains mechanically clamped.
Review custom thermal pad die cutting for drawing and tolerance inputs. For early geometry and handling checks, request prototype material samples before committing to production tooling.
Part geometry
Contact area, keep-outs, holes, slots, tabs, narrow edges, corner radii and tolerance datum.
Material and layers
Base sheet, reinforcement, film, adhesive, liner, protective facing and final delivered thickness.
Assembly sequence
Manual, fixture-assisted or automated placement; liner order; orientation; alignment and inspection.
Conversion capability
Die cutting, digital cutting, kiss-cut arrays, particle control, edge integrity and nesting limits.
Production supply
Sheet, roll, individual part, array, tray, bag, moisture protection, labeling and lot traceability.
Pilot qualification
Incoming inspection, fit, thermal result, safety evidence, aging, assembly rate and approved control plan.

Useful screening brief
Information Needed to Recommend a Heat-Insulating Pad
A useful brief names the heat source, protected object, temperature target and finished geometry. Estimated values are acceptable during early screening when they are clearly identified; the final recommendation still needs representative hardware and acceptance tests.
- Hot-side continuous and peak profile
- Protected-side temperature limit
- Heat path and contact area
- Minimum, nominal and maximum spacing
- Compression or no-load requirement
- Voltage and dielectric target
- Flame, smoke and compliance needs
- Humidity, fluids and service life
- Drawing, adhesive and liner format
- Test method and acceptance limit
- Prototype and annual quantity
- Production and packaging method
Heat-Insulating Pad FAQ
What is a heat-insulating pad used for in electronics?
It is used to slow unwanted heat transfer between a hot region and a temperature-sensitive component or surface. Examples include protecting sensors, displays, adhesives, cables, control boards, plastic housings, neighboring battery cells and user-touch surfaces. The pad should be selected from the real heat path, exposure time and protected-side limit.
Is a heat-insulating pad the same as a thermal pad?
Not necessarily. Many products called thermal pads are conductive gap fillers that move heat into a heat sink. A heat-insulating pad does the opposite along its intended path: it increases thermal resistance to protect another region. Define whether the design must move heat, block heat or perform both functions in different locations.
Can a pad be electrically insulating but thermally conductive?
Yes. Ceramic-filled silicone and other dielectric thermal interface materials can transfer heat while preventing direct electrical contact. Electrical insulation describes current flow; thermal insulation describes heat flow. The two properties must be specified and tested separately.
Does lower thermal conductivity always provide better protection?
Lower through-thickness conductivity can improve a material-level estimate, but the device result also depends on thickness, compression, area, edges, fasteners, air, radiation and structural heat spreading. The best material on a coupon may not produce the lowest protected-side temperature in an assembly with a dominant bypass.
How thick should a heat-insulating pad be?
Use the thickness needed to meet the protected-side temperature while fitting the minimum and maximum mechanical stack. For compressible materials, base the analysis on final compressed thickness. Then verify the complete hardware under steady, transient and aged conditions.
How does compression affect thermal insulation?
Compression reduces thickness and usually increases contact area. It can also change a foam cell structure or force heat into adjacent metal features. The barrier may therefore conduct more heat while creating higher mechanical load. Use pressure–strain data and test the intended compression range.
Can heat-insulating pads be used between battery cells?
They can be evaluated as part of a cell-to-cell or module barrier, but the required evidence depends on the event. Normal operating isolation and abnormal thermal propagation are different tests. Cell chemistry, state of charge, spacing, vent direction, enclosure and pack construction must be included.
Is a heat-resistant pad automatically a thermal barrier?
No. Heat resistance means the construction retains specified properties at a stated temperature and time. The material may still conduct substantial heat. Review conductivity, thickness and the completed thermal path in addition to the temperature rating.
Can insulation pads be custom die cut with adhesive?
Many sheet and foam constructions can be supplied with holes, slots, tabs, adhesive and release liner. Feasibility depends on thickness, brittleness, edge integrity, narrow webs, cleanliness and placement process. The adhesive and liner must be treated as part of the qualified construction.
What information is needed to recommend a material?
Provide the heat source, hot-side profile, protected object, temperature limit, available thickness, compression, drawing, voltage, flame and environmental requirements, adhesive or liner preference, validation method and expected quantity.
How should a thermal barrier pad be validated?
Control heat input and ambient conditions, measure both hot and protected sides at fixed locations, inspect installed geometry and repeat across tolerance extremes. Add thermal cycling, hot dwell, humidity, fluids, vibration, dielectric, flame or transient-event tests when those conditions affect service.
When should I use a conductive pad instead?
Use a conductive pad when the objective is to move heat from a component into a heat sink, chassis, spreader or cold plate. Some systems use a conductive pad at the heat source and an insulating barrier around the protected region. Treat them as different parts with different acceptance criteria.